
anpr camera installation
ANPR Camera Installation: Angle, Distance & Light 2026
A successful ANPR camera installation comes down to three interacting variables — mounting angle, standoff distance and illumination — not camera resolution…
On this page
- ANPR Camera Installation Basics: What Actually Determines a Successful Read?
- What Mounting Angle Should an ANPR Camera Use?
- How Far Should an ANPR Camera Be From the Lane? (Standoff Distance)
- What Lighting Does an ANPR Camera Need, Day and Night?
- Practical checks worth doing on install
- Overhead vs Lateral Mounting: Which Position Suits a UK Lane?
A successful ANPR camera installation comes down to three interacting variables — mounting angle, standoff distance and illumination — not camera resolution alone, and getting any one of them wrong on a UK lane will produce unreadable plates regardless of how good the sensor is.
In practical terms this means plate characters must fill enough of the frame, at a shallow enough horizontal and vertical angle, for the recognition engine to segment each character correctly. This article focuses on that hardware and positioning layer: the geometry and light that have to be right before any software tuning can help.
ANPR Camera Installation Basics: What Actually Determines a Successful Read?
A successful ANPR read comes down to three interacting variables — mounting angle, standoff distance and illumination — not sensor resolution on its own, per manufacturer ANPR installation guidance. Get any one of those wrong and a high-megapixel camera will still return blurred or unreadable plates.
A "read" in the technical sense means the recognition engine can segment each character on the plate cleanly enough to convert it to text.
That requires the plate to fill a sufficient portion of the frame at a shallow enough horizontal and vertical angle — one manufacturer's ANPR installation guidance devotes its Chapter 2 specifically to camera installation angle, installation height, lens selection and permissible plate tilt angle, because each one independently affects segmentation accuracy.
Push the angle too steep and characters compress and distort; mount too far back without matching the lens focal length and the plate simply doesn't resolve enough pixels per character.
The takeaway: angle, distance and light have to be solved together, not traded off against each other. A camera that nails two of the three but fails the third — say, correct angle and good light but too great a standoff distance for the fitted lens — will still miss reads. This is also why the same hardware performs very differently across two sites; the TruVision ANPR IP Camera Installation Guide sets out recommended installation scenarios precisely because a scheme that works on a wide, straight approach road won't transfer to a tight, angled car park entrance without reworking mounting height and lens choice.
Before specifying hardware, walk the actual approach: measure the realistic vehicle speed, the true standoff distance to the plate, and check what light — or lack of it — hits that spot after dark.
What Mounting Angle Should an ANPR Camera Use?
ANPR datasheets treat horizontal and vertical mounting angle as two separate, tightly constrained settings rather than one general "aim it at the road" instruction. The same manufacturer guidance covers this as two distinct sections: Camera Installation Angle (2.1) and License Plate Tilt Angle (2.4), each with its own tolerance.
Horizontal angle describes how far the camera sits off the lane centreline, left or right — get this wrong and the plate presents at a skew that defeats the recognition engine even when everything else is correct. Vertical (depression) angle is how far the camera looks down at approaching or receding traffic; too steep and the plate distorts, too shallow and the unit reads windscreens and grilles instead of the plate itself.
Industry practice generally keeps both angles within a narrow band — often cited as 0–15° — though the exact figure a given install can tolerate depends on lane width, camera height and lens selection, so always check the specific model's own datasheet rather than assuming a universal number applies.
Manufacturer guides for other ranges follow the same two-angle logic: Adaptive Recognition's User's Guide separates overhead and lateral mounting scenarios and flags typical mistakes distinct from brightness setup, confirming this isn't a single-manufacturer quirk but a shared constraint across ANPR camera installation generally. Get the horizontal and vertical figures from the datasheet before fixing the bracket — retrofitting angle correction after mounting means redrilling.
How Far Should an ANPR Camera Be From the Lane? (Standoff Distance)
Standoff distance is matched to lane width and lens focal length so the plate fills enough of the frame, not a fixed figure. Pairing distance and lens correctly is critical because incorrect geometry causes poor read rates regardless of camera quality or recognition engine capability.
Standoff distance isn't a fixed figure — it's matched to lane width and lens focal length so the plate fills enough of the frame at the capture point, which is why lens selection gets its own step (section 2.3, Camera Lens Selection) in the same manufacturer guidance rather than a default you can copy across sites. Get distance and lens paired wrong and plate reads fail, regardless of how good the camera's recognition engine is.
The trade-off is a straight lens/distance/pixel-density balance. Mount too close, and a fast-moving or wide vehicle crosses the frame too quickly or at too steep an angle for a clean, front-on capture. Mount too far without compensating focal length, and the plate resolves as too few pixels for the recognition engine to segment individual characters reliably.
The same guidance treats camera installation angle (section 2.1) and installation height (section 2.2) as connected variables, not separate decisions — change one and the standoff/lens pairing has to be rechecked. Adaptive Recognition's installation documentation splits this into overhead and lateral mounting scenarios, each with its own distance and angle logic, and flags typical mistakes separately, which reflects the same underlying point: geometry is site-specific, not templated, per the Adaptive Recognition User's Guide.
In practice, standoff is a design output, not an installer's guess. For a car park barrier lane versus a multi-lane road approach, the working distance, lens focal length and expected plate tilt angle (section 2.4 in the same guidance) all shift together. Getting this pairing wrong is the single most common reason a correctly-powered, correctly-networked ANPR camera still returns poor read rates — the hardware is fine, the geometry isn't.
What Lighting Does an ANPR Camera Need, Day and Night?
ANPR cameras need consistent, well-controlled illumination across the full day/night cycle, not just enough lux at any single moment — exposure has to be actively managed as light levels swing. That's why manufacturer setup guidance treats brightness control as its own configuration stage rather than a default left on auto.
The Camera Setup for 24/7 use guide devotes a full section to this, split into outdoor brightness control (run automatically) and indoor brightness control (set manually), plus a dedicated night-mode configuration stage with its own recommended values.
The key takeaway: exposure control matters more than raw light quantity, because a plate that's correctly exposed at dusk will blow out or black out an hour later if the camera hasn't switched modes.
That's also why the same guide separates day and night as distinct configuration states rather than one continuous auto-exposure curve — an installer who only sets up daytime brightness leaves the camera guessing after dark.
On the raw-light side, installers commonly use around 50 lux as a rough practical minimum for plate legibility — treat this as a starting rule of thumb to check on site, not a fixed regulatory threshold, since actual legibility still depends on the camera's shutter speed, sensor, lens aperture and the vehicle's approach speed.
Practical checks worth doing on install
- Walk the site at dusk and again after full dark; a plate that reads fine at 6pm may not at 11pm without night-mode tuning.
- Confirm IR or white-light illuminators (where fitted) reach the capture zone without overexposing the plate at close range.
- Re-check exposure settings after any change to lighting, canopy shading or camera angle — a fix agreed on a bright afternoon can fail after sunset.
Overhead vs Lateral Mounting: Which Position Suits a UK Lane?
Overhead and lateral mounting are distinct installation scenarios with different angle and standoff requirements. The mounting choice is determined by available site structure, not by lane width or traffic speed alone, and applying one scenario's geometry to the other is a documented failure point.
Manufacturer guidance treats overhead and lateral mounting as two distinct installation scenarios, each with different angle and standoff maths, rather than one generic ANPR setup. Adaptive Recognition's Camera Setup for 24/7 use guide splits its installation chapter into section 1.1 for overhead rigs and 1.2 for lateral rigs, with a further section on typical mistakes at 1.3.
That structure alone tells you the two positions are not interchangeable defaults — the mounting choice comes first, and the angle/height calculation follows from it.
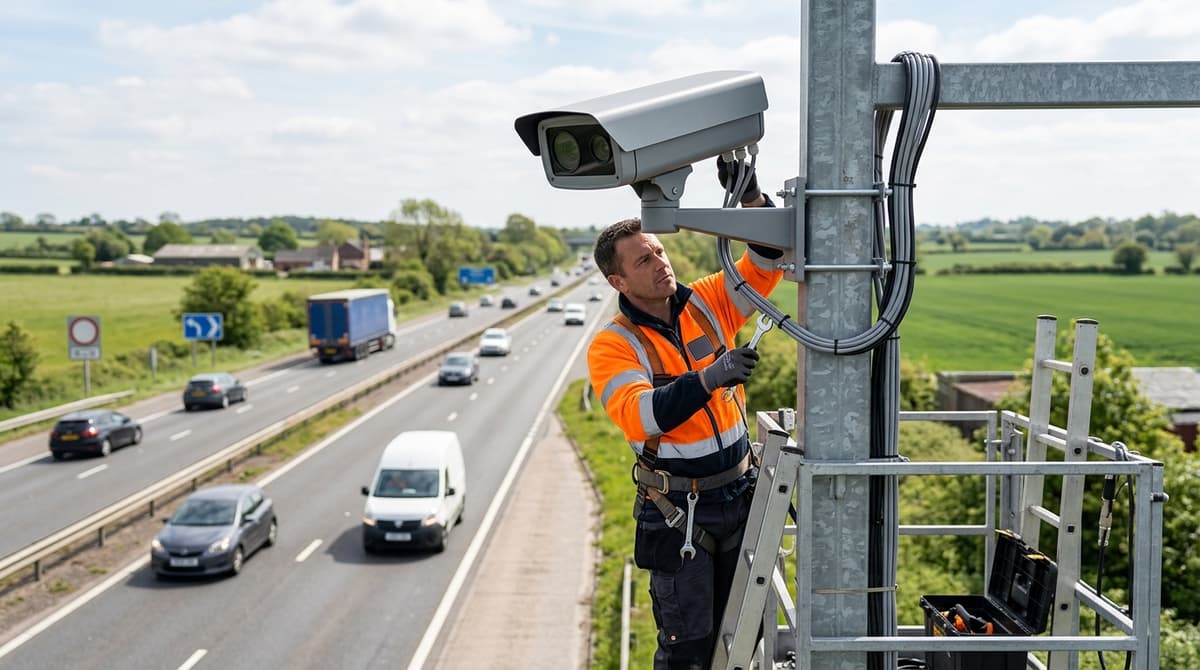
Overhead puts the camera looking down the lane from above, which suits sites where a barrier arm, gantry or canopy already exists to carry the bracket and cabling. Here the main tolerances to get right are the vertical downward angle and keeping the camera centred on the lane, since an off-centre mount skews the plate angle for vehicles in the far lane.
Lateral mounts the camera to the side of the lane instead, typically where there's no overhead structure but a wall, pole or fence line is available. Because the camera sees the plate from an angle rather than head-on, lateral setups carry their own standoff and skew considerations that the guide addresses separately from overhead in section 1.2.
Neither position is inherently correct — it's dictated by what the site offers structurally, not by lane width or traffic speed alone. The guide's dedicated "typical mistakes" section (1.3) exists precisely because getting the overhead/lateral choice wrong, or applying one scenario's geometry to the other, is a documented failure point rather than a rare edge case.
For installers stocking bracket kits and PoE injectors to support either mounting style, CCTVLine's trade catalogue at cctvline.co.uk is worth checking before the survey, so the fixings match whichever position the site forces.